
A miter saw stand will enhance the functionality of your miter saw and also increase the accuracy and quality of your cuts. While you can easily buy a manufactured stand with all the lavish features, it won’t come cheap. For a budding carpenter or a DIY individual, spending such huge amounts on a stand seems absurd. The good thing is, you can make a stand for yourself at a very low cost.
In this guide, we will discuss how you can make a cheap alternative to a miter saw stand.
How to Build a Cheap Alternative to a Miter Saw Stand
Time Needed: 2-3 Hours
Difficulty Level: Intermediate
Tools Needed
- Circular saw
- Clamps
- Drilling machine
- Framing square
- Level
- Tool kit
- Table saw
- Tape measure
Materials needed
- 4×8 feet plywood sheet (1)
- 8 feet 2×4 sheets (2)
- 8 feet 1×6 dividers (1)
- 6 feet 1×4 fence (2)
- 1-1/4 inch screws
- 1-5/8 inch screws
Safety Measures
- Always wear personal protective equipment like safety glasses, hearing protection, and dust masks while working with tools as a miter saw or table saw. Avoid wearing loose items such as neck chains, bracelets, and mufflers.
- Make sure you keep children out of the worksite.
- Avoid working in damp and dark areas.
- Ensure that all the electrical cables are out of your work area.
Procedure
Once you have arranged all the materials, it is time to get started. Make sure you read all the instructions before starting the work and follow the below-mentioned safety measures.
Step 1: Measure and mark the size of your miter saw and cut a piece of three-quarter-inch plywood slightly bigger than the base of your saw. Screw your saw to the base with the help of a power drill.
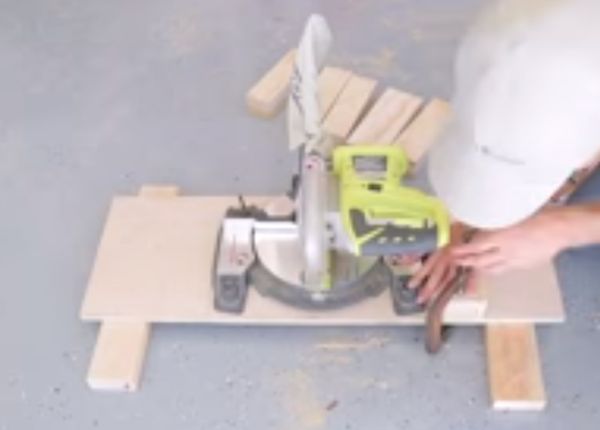
Step 2: Now place the 2×4 block next to the miter saw and measure the difference between the saw and the block to find the size of the spacer blocks. After you have readied the 2x10s for the base of the saw, attach the block and the 2×10 sheet with the help of 3-inch screws. You need long screws to ensure a strong connection between the two. Do this for the other side as well. Now prepare a similar structure for the right-hand side of the saw.
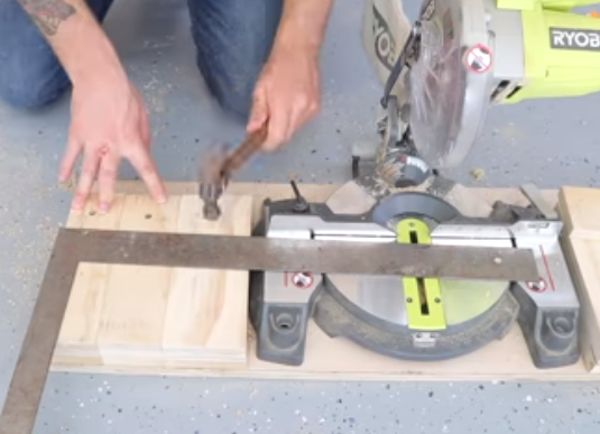
Step 3: The last step is to connect the base of the miter saw with the workstation underneath. Use 3-inch screws for this purpose. That’s all. You have just prepared a cheap alternative stand for your miter saw.
Please note that you will have to be very careful while taking measurements for the side blocks as you don’t want them to be smaller or bigger than the base of the miter saw.